Background Remover

Remove Background from Image

Remove background from an image and keep the subject ready for your next design. Upload a product photo, portrait or pet picture, then download a transparent PNG. Sign in to process your own image; each image uses 1 credit.

Upload an image to remove the background

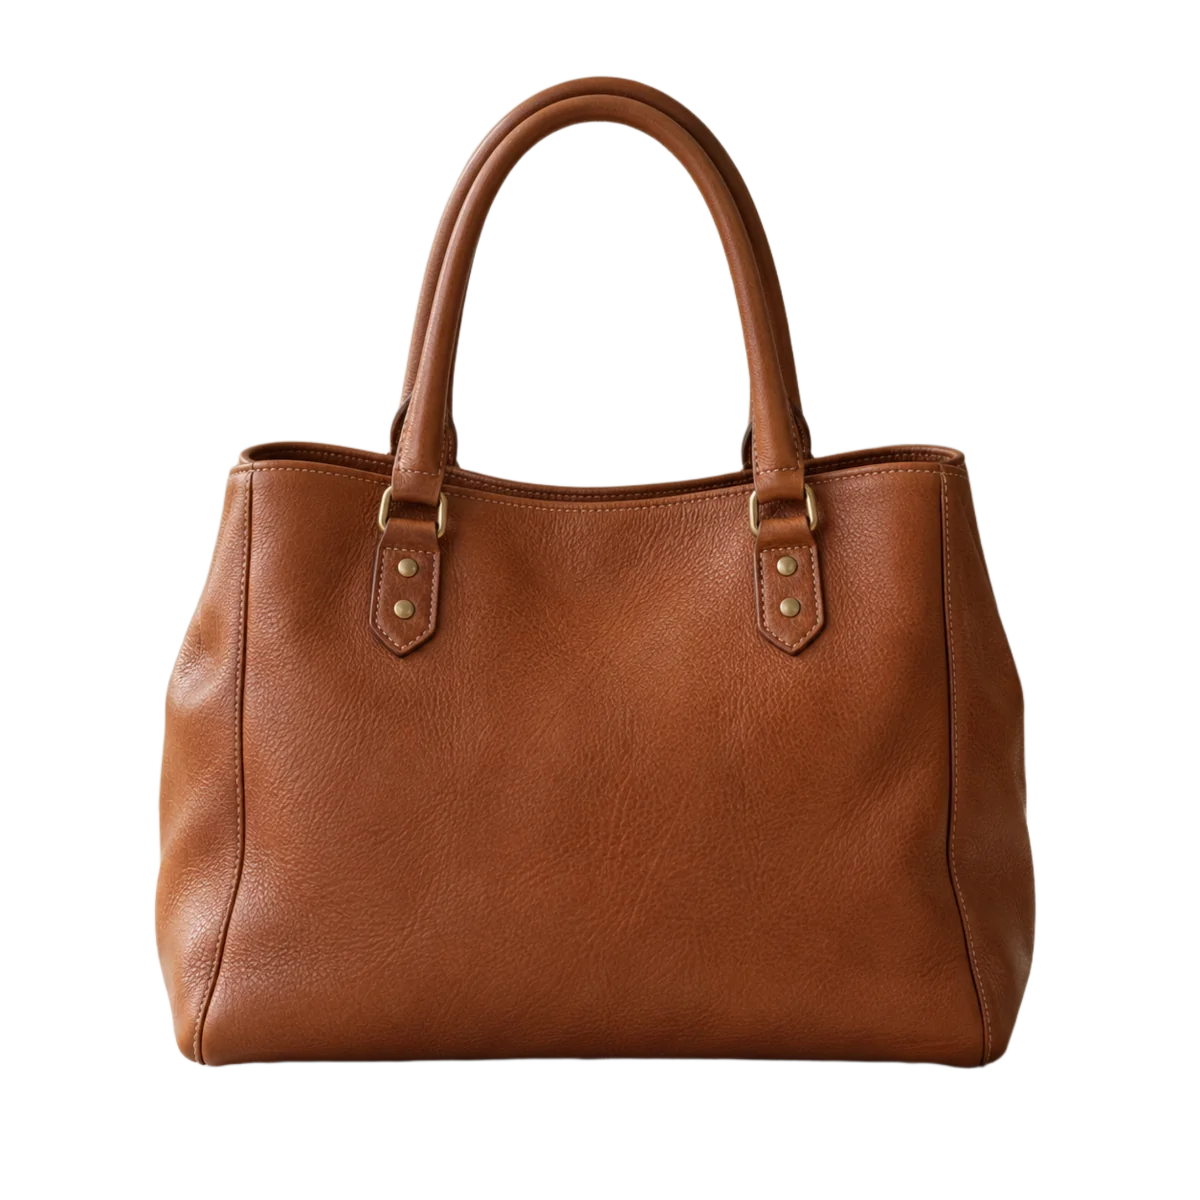
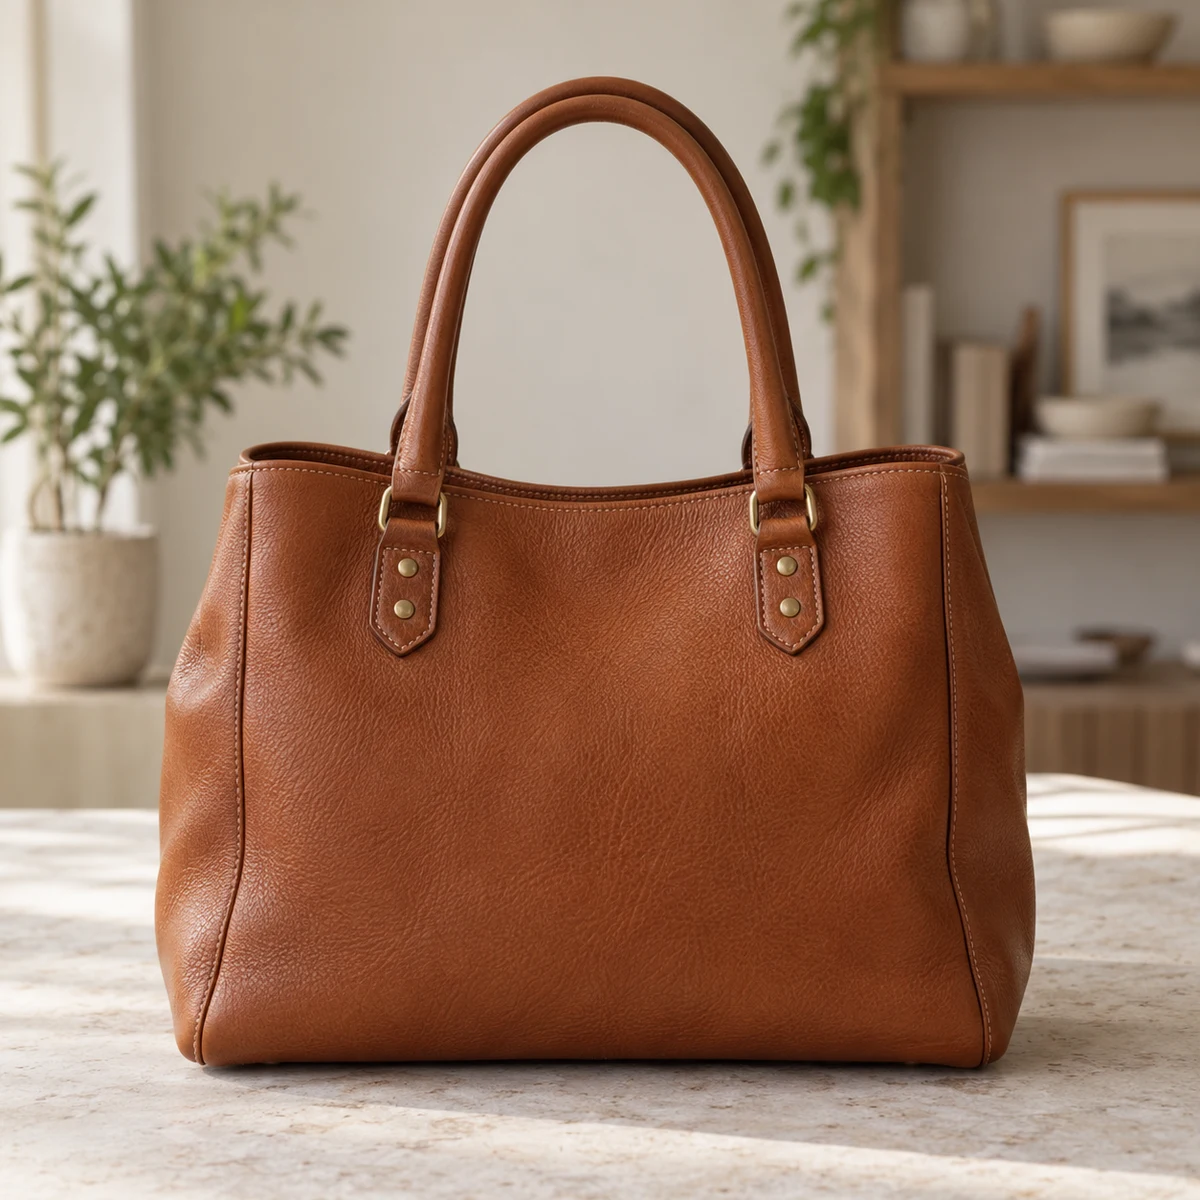
Product photo — Background removed
Product photo — Original
Original
Background removed

The sample photos are AI-generated; each cutout is a real result from this background remover. Your result depends on the image you upload.

Upload an image to remove the background

No image handy? Try a sample:

1 credit per image

Transparent PNG
1 credit per image
JPG, PNG or WebP · Up to 5 MB

What does a background remover do?

A background remover separates the main subject from the surrounding scene. It creates transparency around the subject, so you can place the cutout over another color, photograph or design. This is different from brightening a photo or removing a shadow: the room, wall or tabletop disappears, while the subject remains. Choose this tool when you want an isolated object or person rather than the original setting. If you need to keep the scene and only correct its lighting, use the shadow removal tool instead.

Keep the subject recognizable

A cutout should retain the subject’s shape, colors and proportions. Compare the result with your original before placing it in a new design. Background removal is useful when the subject is already photographed the way you want it; it is not a way to reconstruct a hidden object or change its pose.
How to remove a background online

1

Upload your original image

Choose one JPG, PNG or WebP file, up to 5 MB. Each side must be between 256 and 4096 pixels, and the image must not exceed 16 megapixels. Use the original file rather than a screenshot of a screenshot: visible detail helps the tool separate fine edges. Sign in before uploading your own photo. You can explore the example comparisons without running a paid task.

2

Remove the background

The tool identifies the foreground and makes the surrounding area transparent. There are no prompts, shadow modes or quality tiers to choose from. Processing one image uses 1 credit, with the cost shown beside the upload controls. Wait for the result before starting again. If a task is still running after a timeout, use the status check rather than submitting the same photo repeatedly.

3

Check the cutout and download

Drag the comparison slider to inspect the outline, then download the transparent PNG. Look closely around hair, fur, handles and narrow gaps where bits of the old background can remain. The checkerboard is a preview of empty pixels, not part of your downloaded image. Keep your original photo too, so you can compare or make a different edit later.

Cutouts for products, people and pets

The sample photos are AI-generated; each cutout is a real result from this background remover. Your result depends on the image you upload.

Product photo — Background removed
Product photo — Original
Original
Background removed

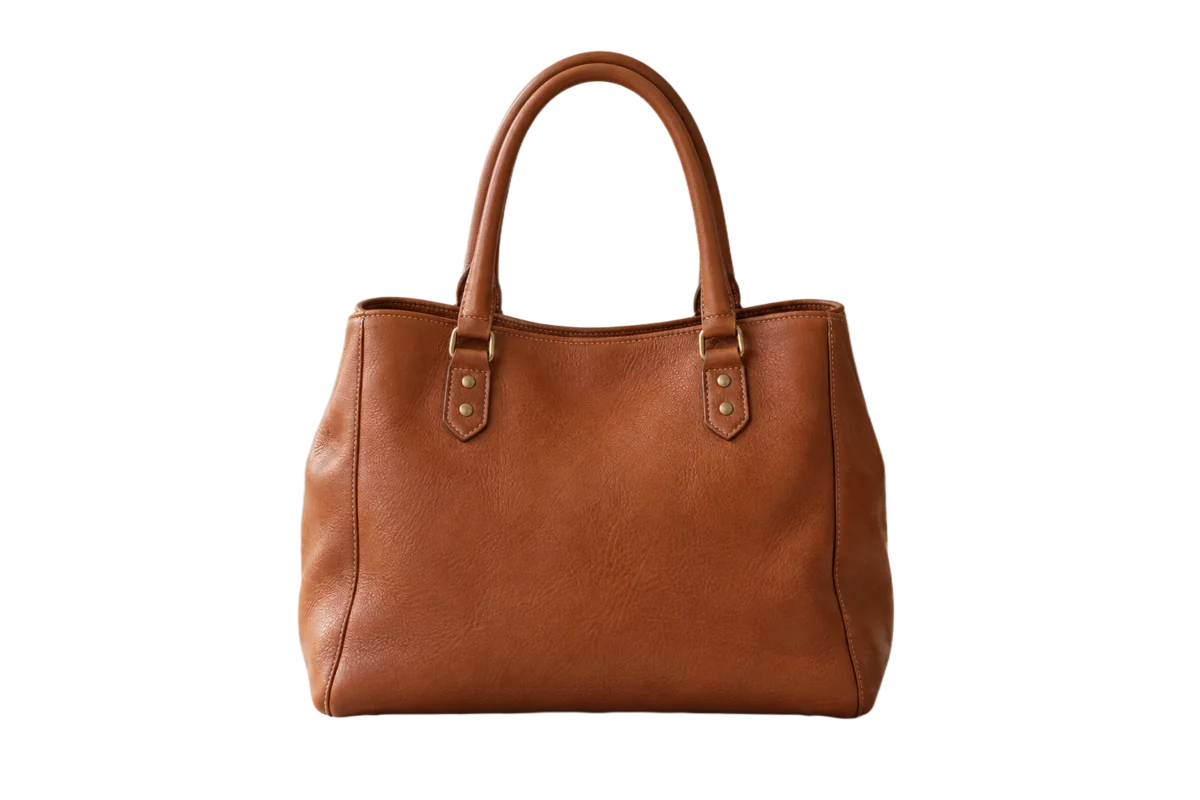
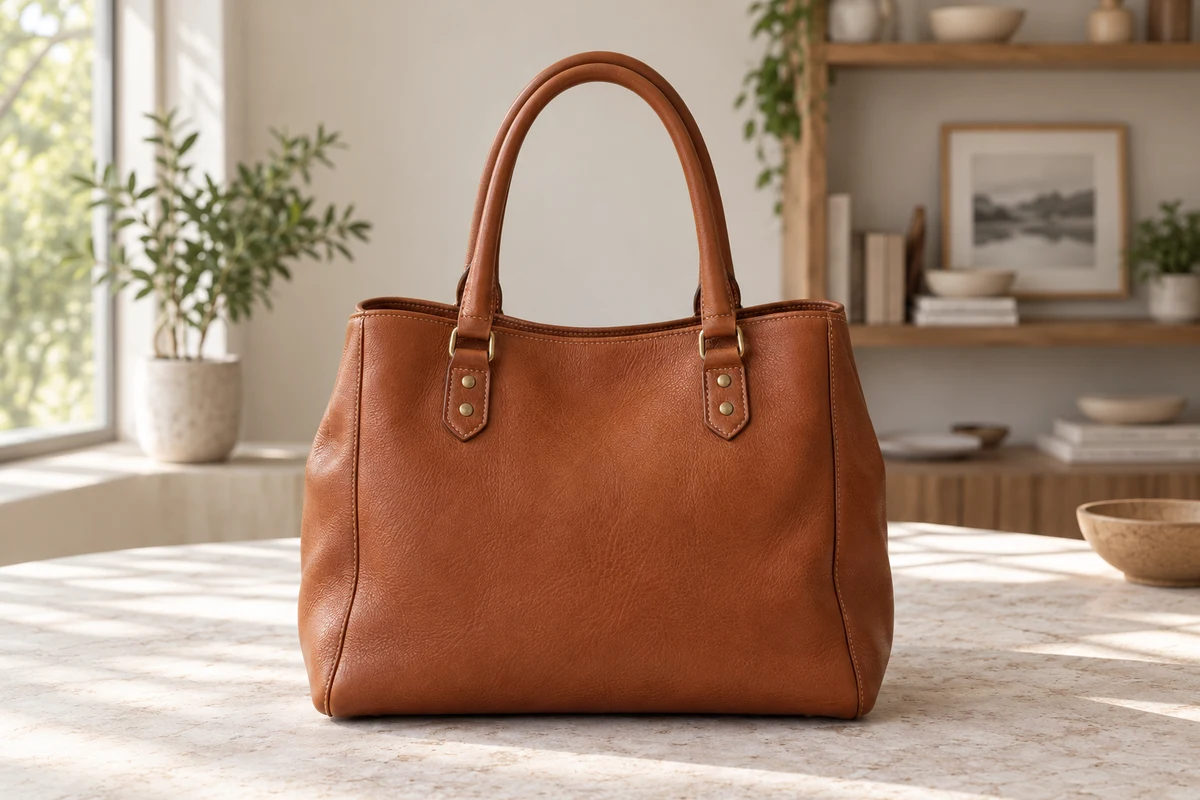
Product photos

Remove a table, shelf or room from a product shot to prepare an isolated image for a catalog or layout. Handles and straps create enclosed gaps, so inspect those areas as well as the outside edge. Keep the entire object within the original frame: a cutout cannot recover parts that were never photographed. Before publishing, check the destination’s background and image requirements; a transparent PNG is not automatically a compliant marketplace listing.

Portrait — Background removed
Portrait — Original
Original
Background removed

Portraits and profile images

Separate a person from a busy wall or garden without choosing a new background in advance. A clear outline and visible hair strands make the cutout easier to inspect. Soft curls, flyaway hair and similarly colored backgrounds can need extra attention. This tool removes the surrounding scene; it does not correct facial shadows, retouch skin or promise that every hair will survive. Use the result as a layer in your own composition.

Pet photo — Background removed
Pet photo — Original
Original
Background removed

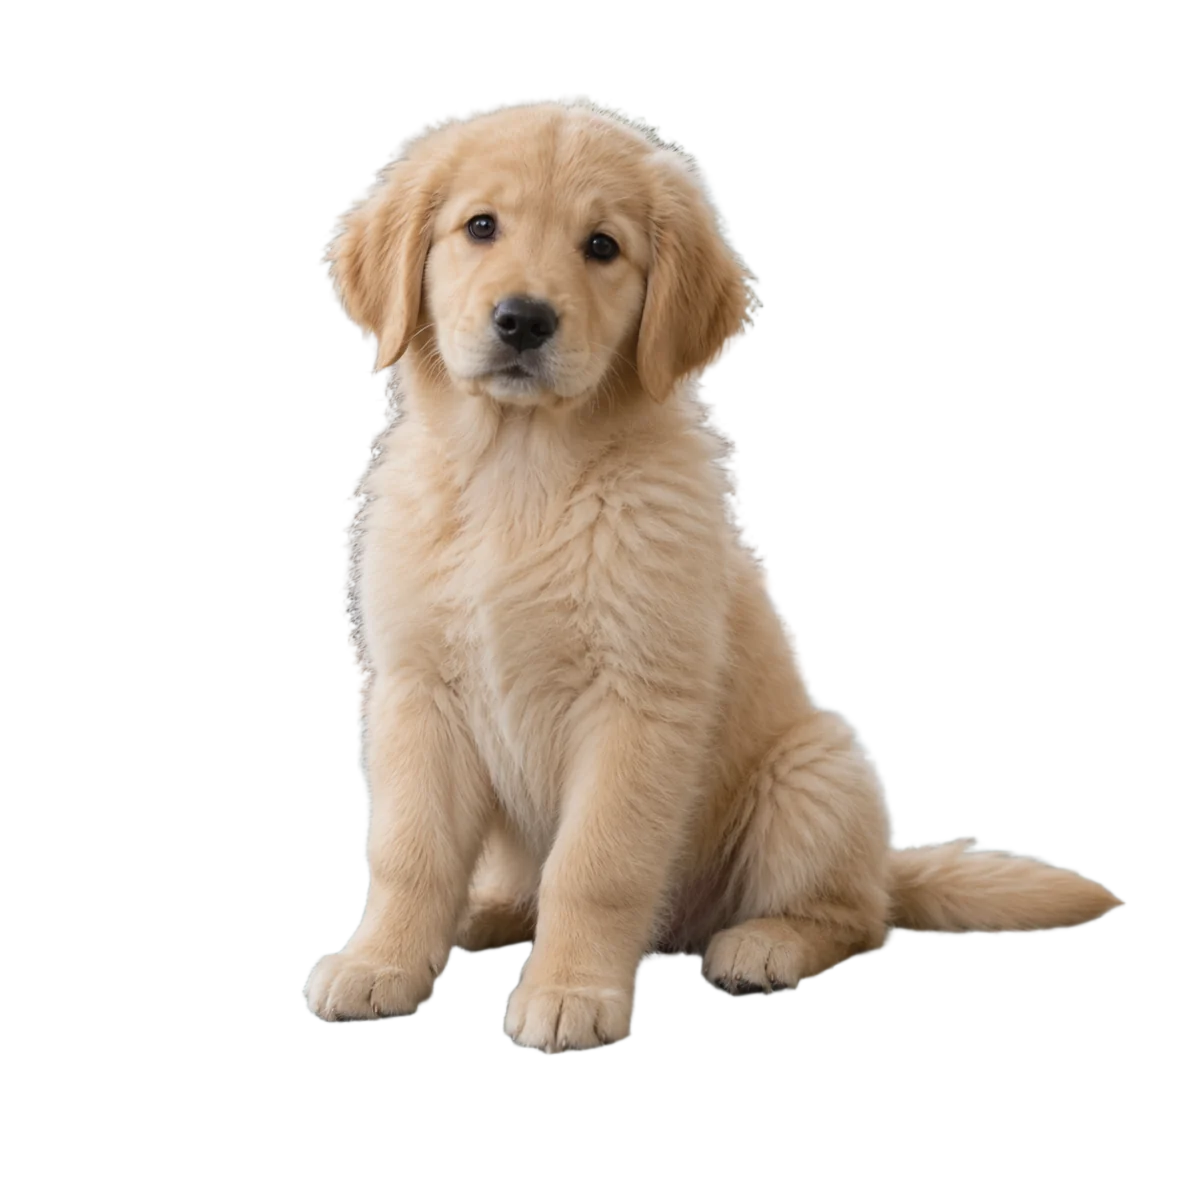
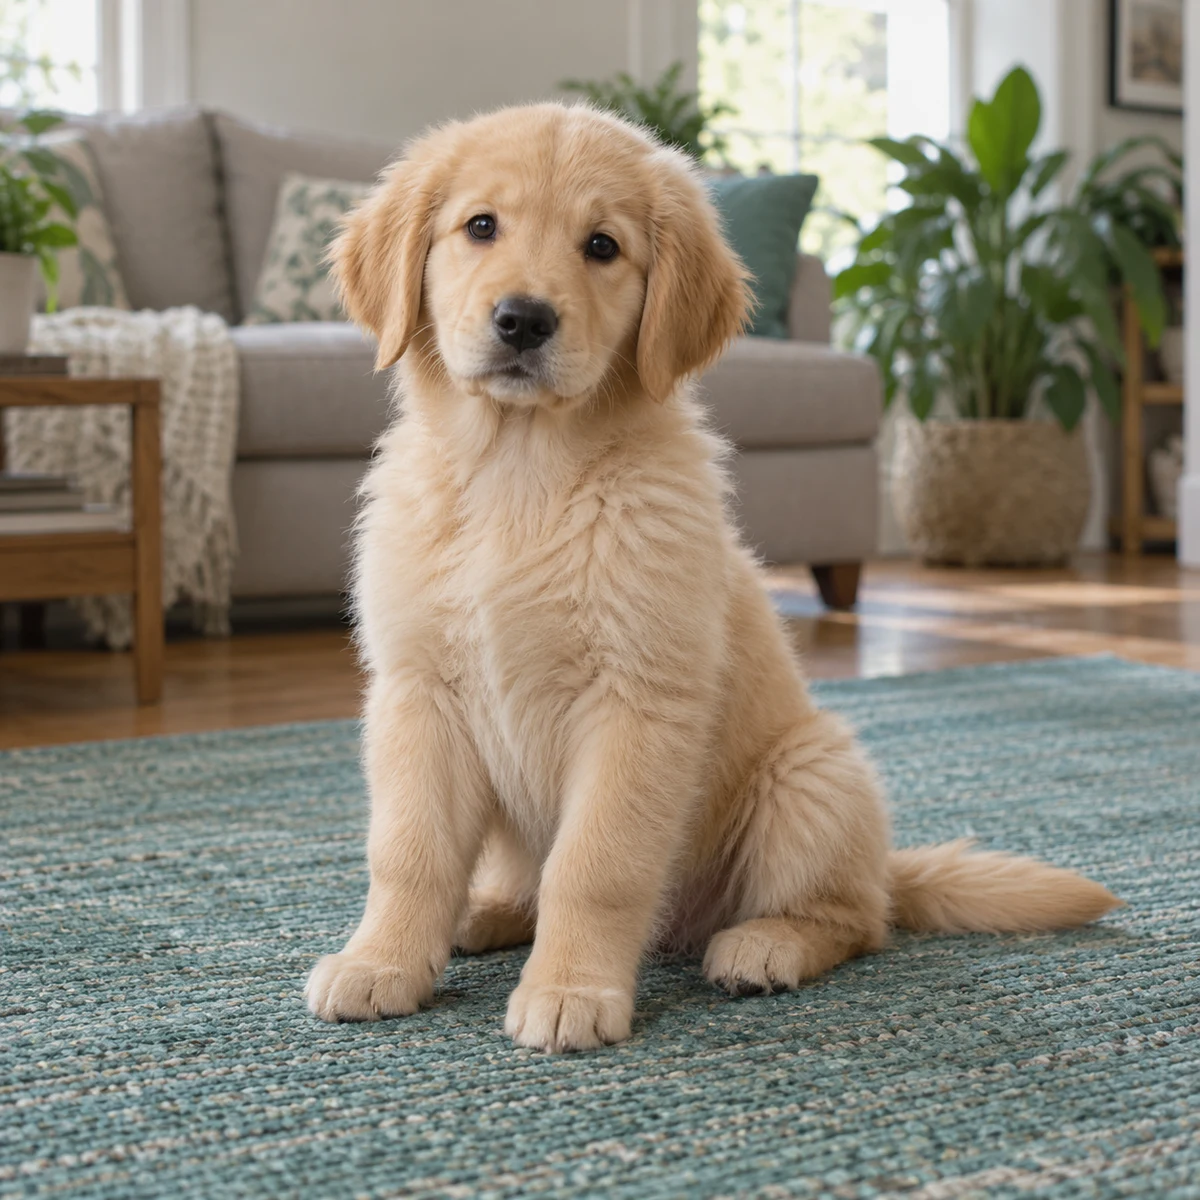
Pets and soft edges

Turn a pet photo into an isolated subject for a collage, card or personal design. Fine fur and whiskers blend into backgrounds more gradually than a hard product edge, so judge the result at a useful zoom level. Keep ears, paws and tails inside the frame. A well-lit pet against a contrasting surface is a better starting point than a blurry subject merging into a dark sofa.

A transparent background you can reuse

PNG supports an alpha channel, which records how transparent each pixel is. That allows soft edges to blend into another design rather than sitting inside a solid rectangle. A viewer may display transparent pixels as white or black; that alone does not mean the background has returned. Place the file over a colored layer to check it. Keep the PNG when moving between apps. Converting it to JPEG removes transparency and usually fills the empty area with a solid color. This page exports a cutout; it does not include a background editor or automatically create a white product backdrop.

Keep a reusable master file

Save the transparent PNG as your master cutout. Resize a copy for each destination, and keep the original resolution for future layouts. If another app adds a solid background on export, return to the PNG instead of trying to remove that background again.

How to get cleaner edges

01

Start with visible detail

Use a sharp, well-lit photo with the subject clearly separated from its surroundings. Motion blur, heavy compression and similar foreground and background colors can make the boundary ambiguous. More pixels help only when they contain real detail; enlarging a tiny screenshot does not restore missing hair or texture.

02

Review holes and fine edges

Check spaces between arms, inside bag handles and around loose hair. Transparent glass, mesh, smoke and reflections are harder cases because the foreground itself lets the background show through. Automatic removal can leave halos or omit small details. Inspect the result before using it in a finished design.

03

Choose the right edit

Deleting the background does not remove a shadow that falls across the subject. For uneven lighting, first decide whether the original setting should remain. If it should, use shadow removal. If you need both changes, inspect each result separately before moving to the next edit; each processing task uses its own credits.

Frequently asked questions

The example comparisons are free to view. Processing your own photo requires signing in and uses 1 credit per image. Any available starter credits can be used; after they are spent, you need enough credits in your balance. The cost is shown before processing.


No. The credit is charged for processing the image. Downloading that completed result does not start another removal task. Keep the downloaded PNG if you want to reuse the cutout later.


Some image viewers display transparent areas on a white canvas. Place the PNG over a colored layer to inspect the empty areas. If you converted the file to JPEG, transparency was lost during conversion.


Yes, use the browser and select an image from your device. Upload JPG, PNG or WebP. Convert unsupported phone formats before uploading, and keep the file within the displayed size and dimension limits.


No. Background removal separates the subject from the scene. A shadow that lies on the retained subject is a different edit. Use the photo shadow remover or face shadow remover for lighting corrections.


A task marked as failed refunds its processing credits. A timeout can mean the task is still running, so check its status before retrying. A successful result with an imperfect edge is not the same as a failed task.


Remove Background from Image

Remove background from an image and keep the subject ready for your next design. Upload a product photo, portrait or pet picture, then download a transparent PNG. Sign in to process your own image; each image uses 1 credit.

Remove Background from Image — Transparent PNG Online